Interactive Notebooks- How Do We Reflect?
Welcome back to my interactive notebook series. Today I thought I would share the how. How do I begin? More importantly, how do I lay down expectations and assess those expectations throughout the school year?
This post may contain affiliate links, which means if you click on one of the product links and make a purchase, I’ll receive a small commission. This helps me to build my collection of books so I can share ideas with you. You will never infer a fee or charge for this.
First off, I hook my students into the idea that they are authors and they will be making a non-fiction book of their first grade school year. We learn about non-fiction text features and we search for them with our detective hat and pink panther music playing in the background.


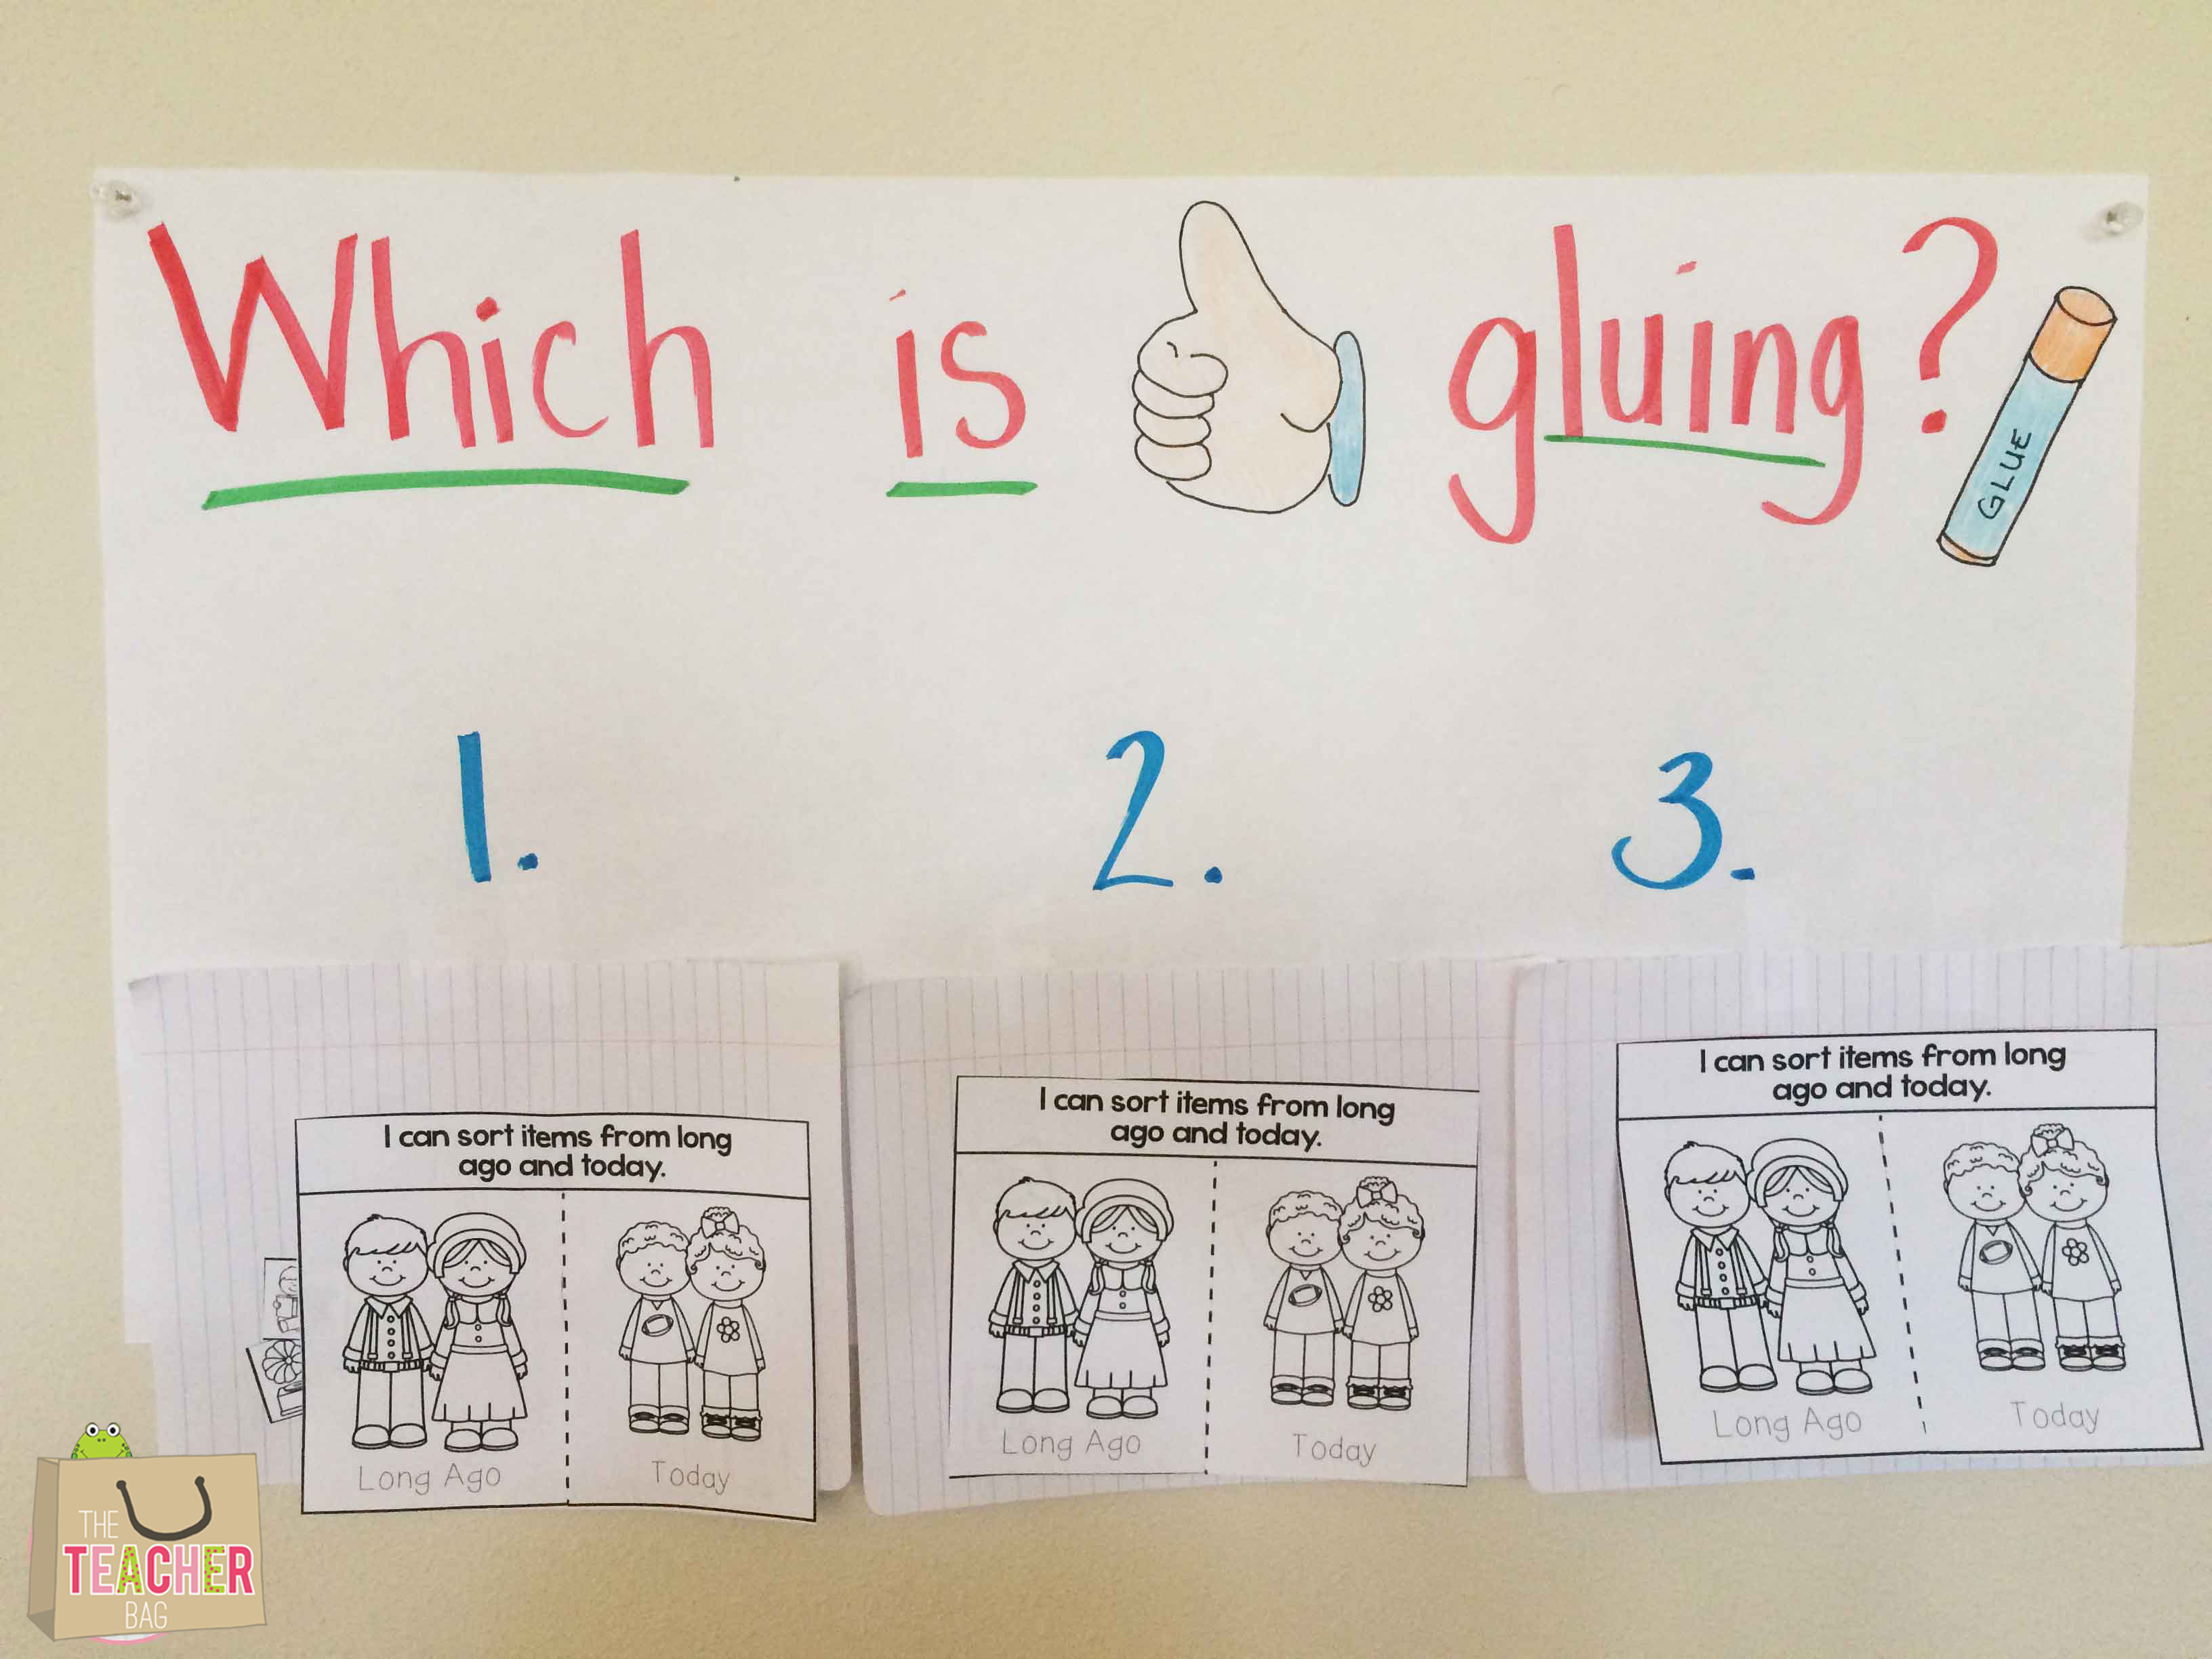
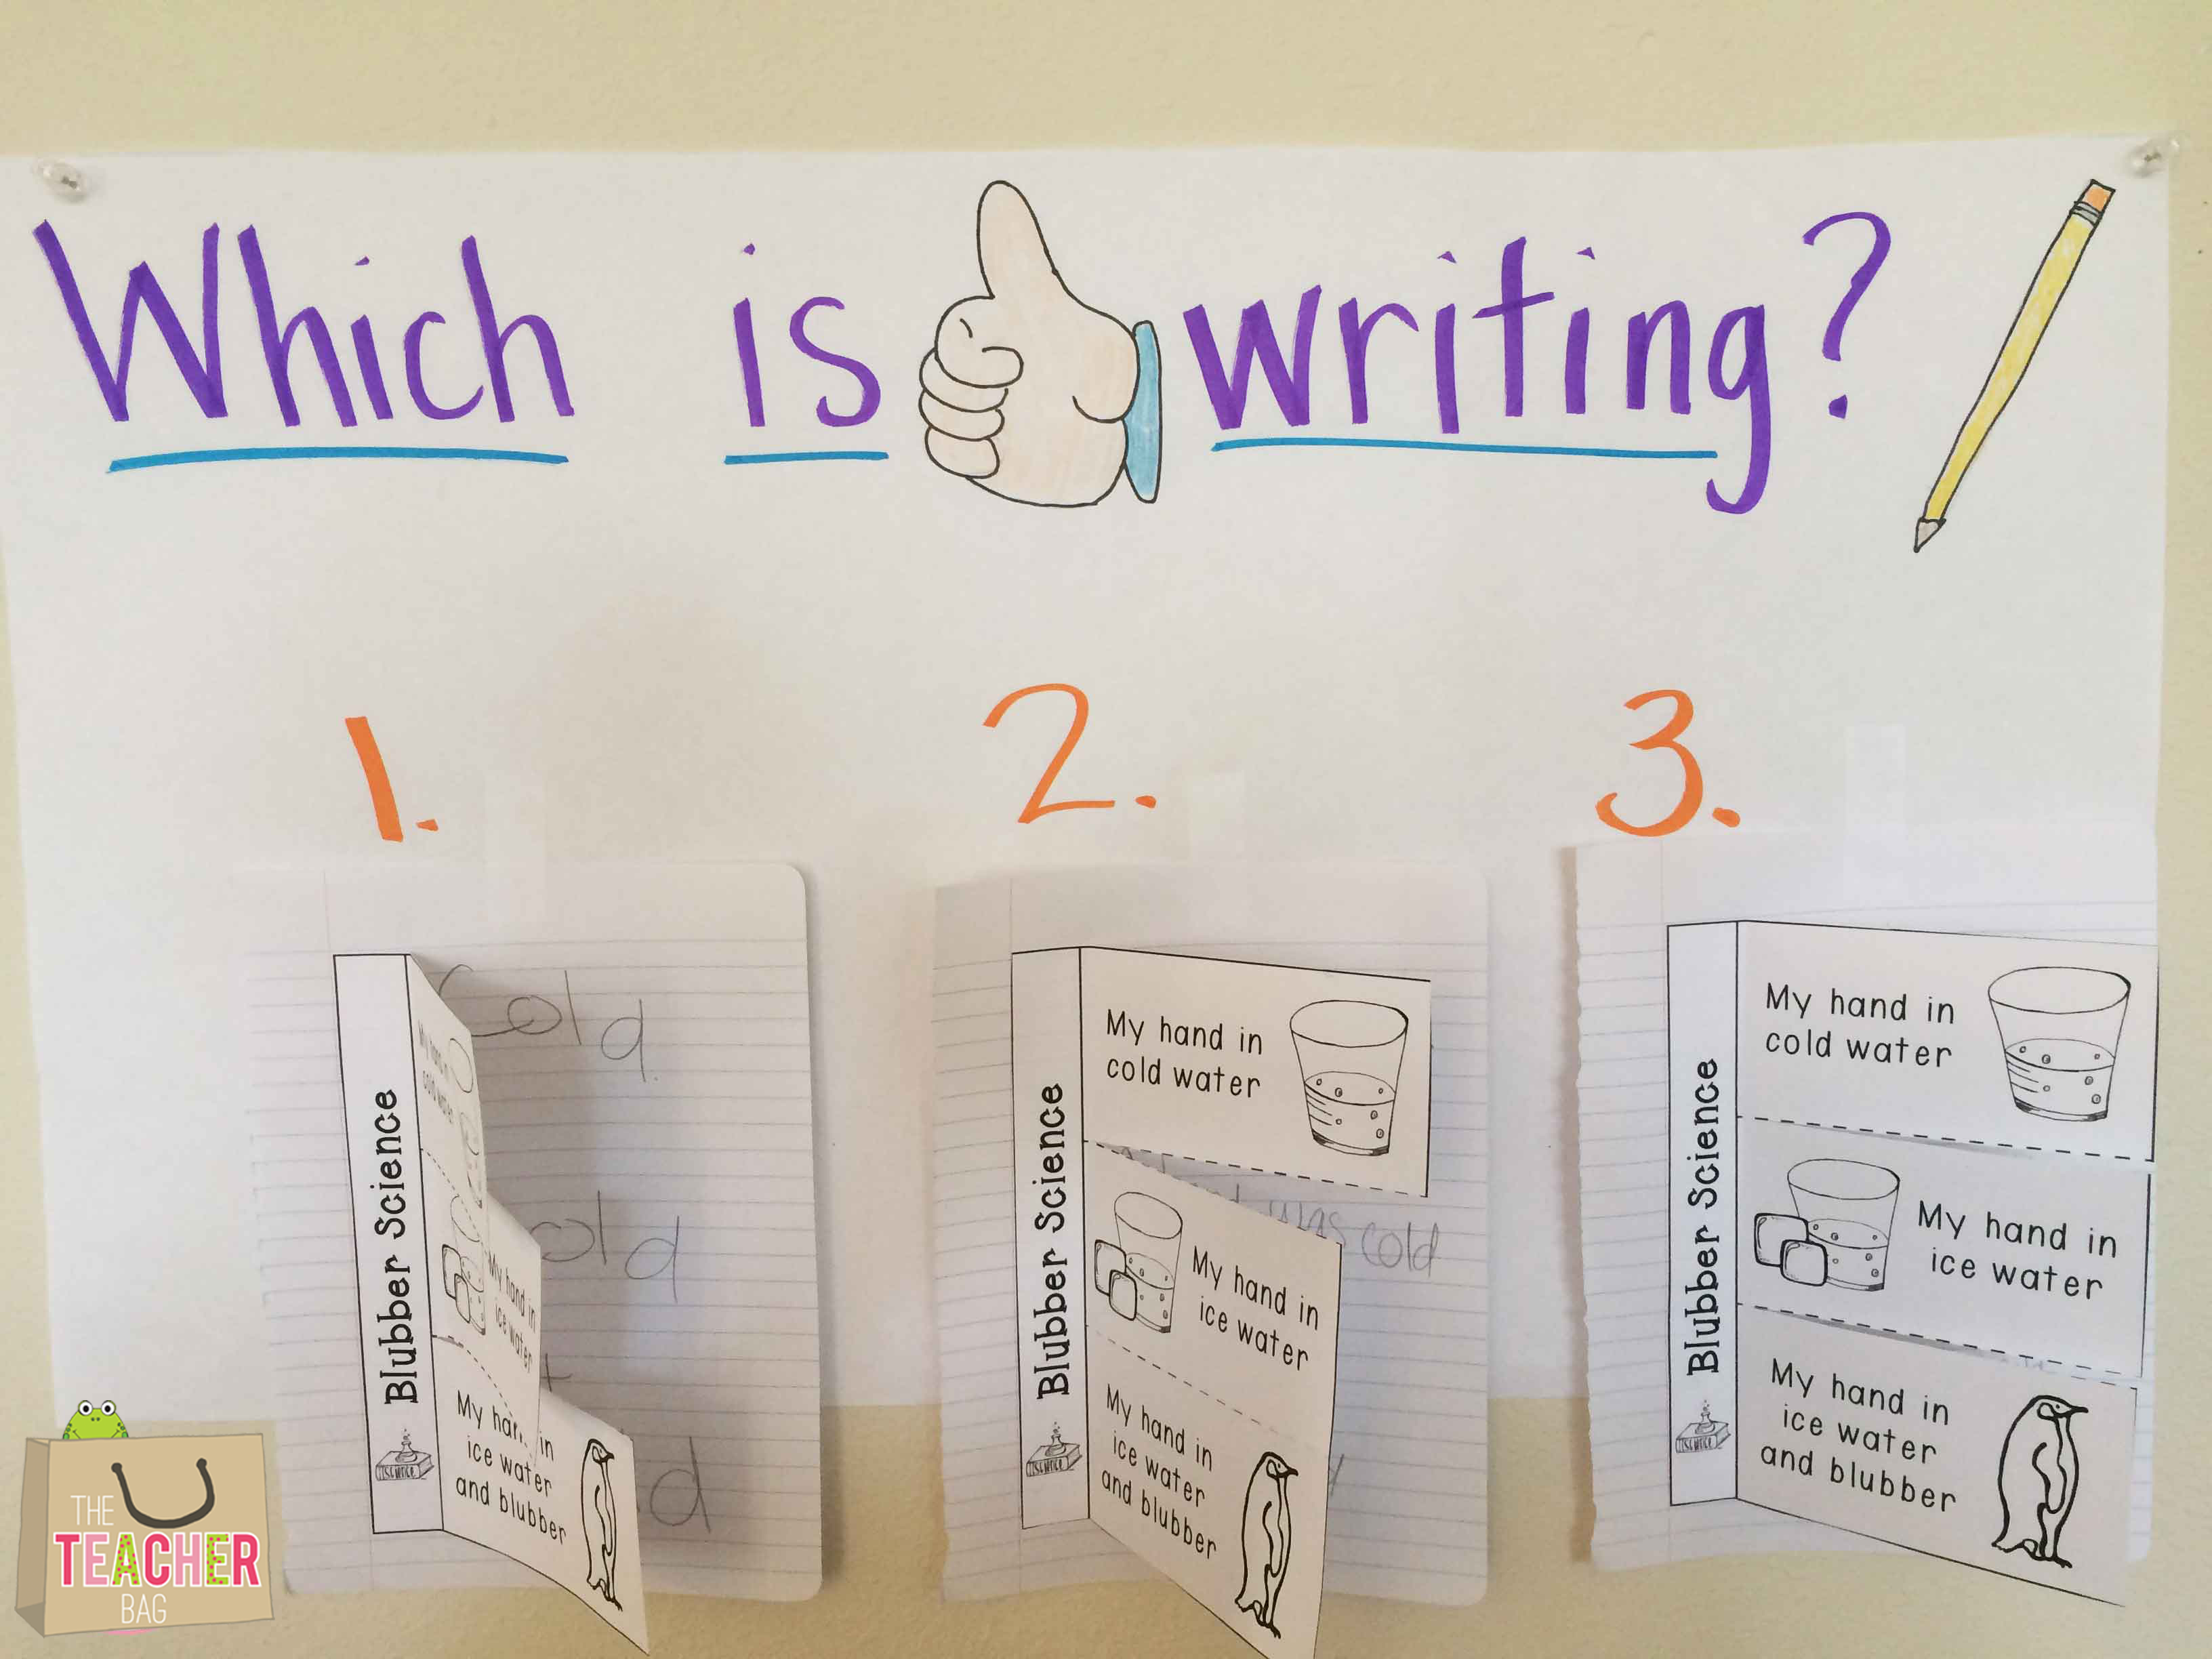
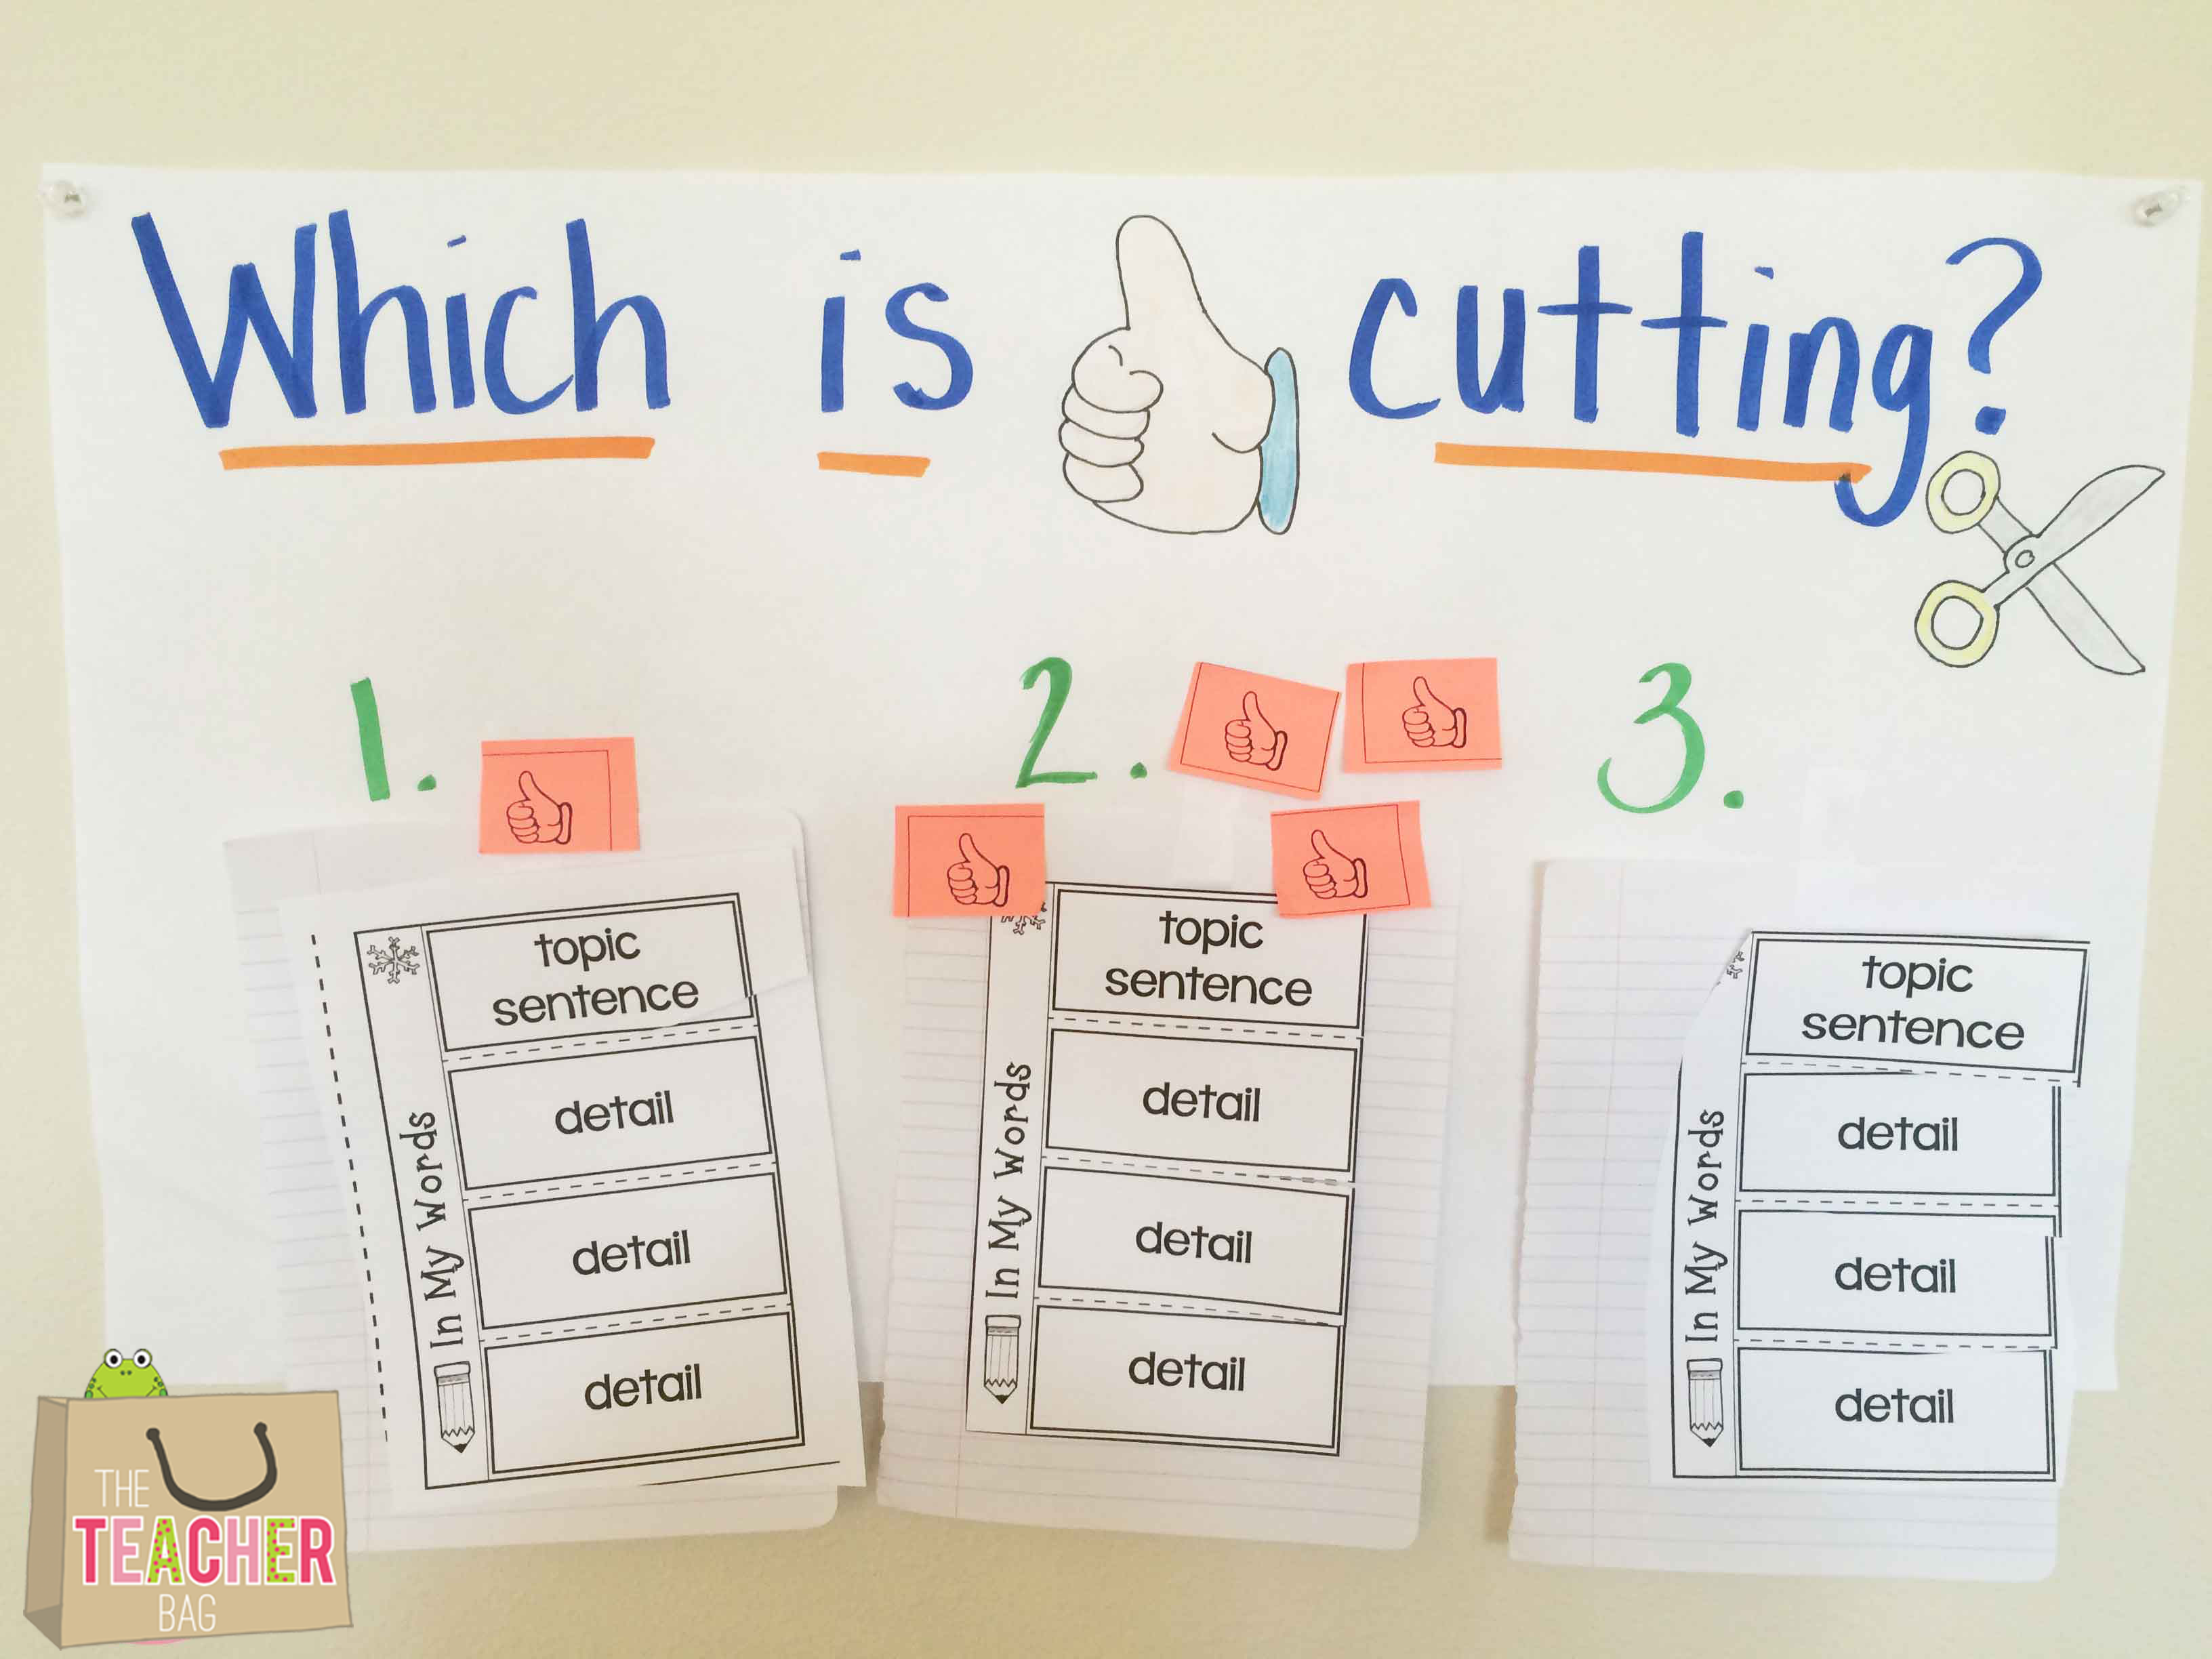
Once we are all excited about making our own book, we brainstorm and learn what makes a thumbs-up notebook. I introduce all of the components and then I spend a day on each one and we practice them.


As I said, I break each of these categories into a separate lessons. For cutting out the pieces, I model thumbs up, thumbs so-so and thumbs down cutting. We talk about what those pages look like. Then I give them each a sticky note with a thumb on it and they get to vote on which one they believe is thumbs up cutting. We do this for each category, they love it!


Now that we are all on the same page, we begin working on pages in our notebooks. In the beginning, we fill out a self-reflection sheet to assess the page that we completed. As my students become more aware of the expectations, we just do the reflection page once in a while.


We glue this page on the left side of their notebook (I have my kids do their notebook pages onto the right-hand side of there their notebook). It makes a good reminder of what is expected.
So….would you an interactive notebook reflection page? Grab your free thumbs-up self-reflection page here.
Remember if you missed my previous posts on interactive notebooks, click below.

I love, love, love how you use anchor charts to train students on your expectations for interactive notebooks! I will definitely be using this idea in class this year. Awesome! ~Tatum